What makes our golf impact screens the best?
The eco series screens have pockets sewn into the top and bottom. The EMT pipes or rope is slides through the sleeves, which distributes the tension on the screen uniformly. This arrangement gives a nice smooth golf screen.NOTE: - The reason we do not use grommets because grommets provides a lot of tension in a small area of screen and screen will always end up tearing out and/or ripping.

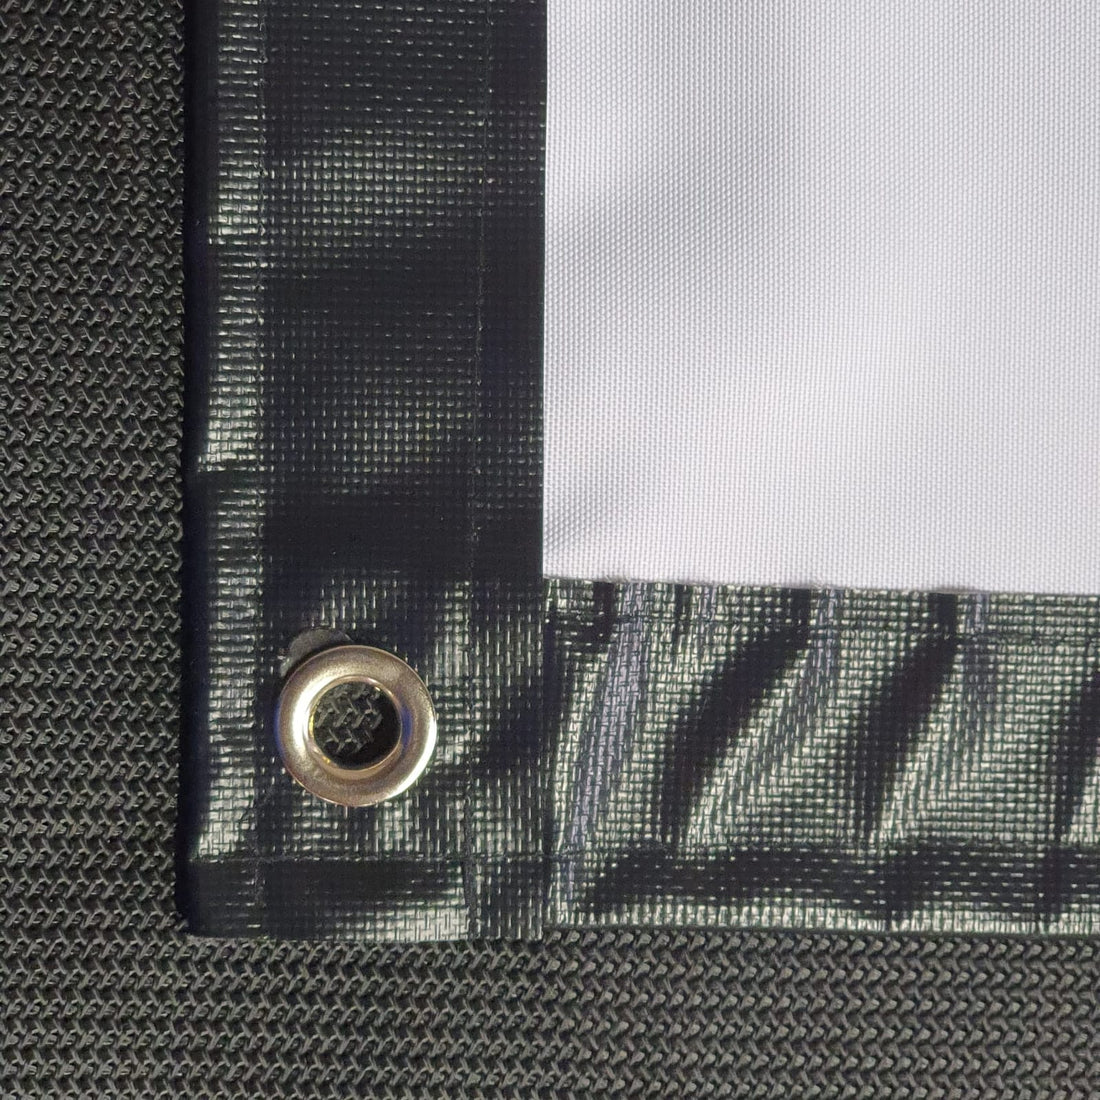
Most Golf impact screens utilize grommets. This is a poor method to use in hanging golf impact screens. Grommets concentrates the whole impact of the shot on small area around the grommets which would eventually result in pull and tear, no matter how heavy duty is the screen. The golf impact screen material is strong but the constant pull on the grommet will eventually rip. Using grommets on golf impact screens create waves on the edges and sides of the golf impact screen. Using our hanging method will allow you to create a nice smooth golf screen. The elimination of ball bungees and the use of adjustable straps makes adjusting the tension on the golf screen quick.
- These screens are machine washable on a delicate cycle to clean or remove and folds.
- If you are a "heavy hitter" we suggest that you upgrade to our Pro Series impact screens. In Pro series, the impact screen is closely attached with the high-performance sports net. The combination of screen and net results in long golfing experience.
NOTE- The screen you will receive will have crease because of the nature of packaging as screens are compactly packed. You will need to iron or steam the screen to remove any crease. We advise its easy to iron or steam the screen, once its properly installed.
Follow these steps when installing the impact screen for home golf simulator:
- Golf Simulator setup area- The recommended minimum height of the golf simulator setup is at least 8 ft but 10 ft being ideal. Impact screen less than 8 ft high will be too short to catch wedge shots. If you are using a golf cage or frame, the screen is typically 8-12 inches smaller than the golf frame. This allow enough room to pull the golf impact screen for adjustments.(We do sell customised freestanding golf frames are per customer needs that range from 300x200cm to 300x600cm in flat and curved format).
- Different ways to setup Golf simulator- There are several ways to hang a golf impact screen. The impact screen can be mounted on a frame attached to wall (like a picture frame). The golf screen can be hung with freestanding frame with a pole running across the top and bottom. Then the golf screen is hung from the ceiling. The golf impact screen can be built into a golf enclosure screen frame. A golf screen should be supported on all 4 sides to avoid any wrinkles and waves in the golf screen.
- Golf screen installation-

- If you are using the frame as shown below, first step is to install the frame.
- These screens are machine washable on a delicate cycle to clean or remove and folds.
- If you are a "heavy hitter" we suggest that you upgrade to our Pro Series impact screens.
- In Pro series, the impact screen is closely attached with the high-performance sports net. The combination of screen and net results in long golfing experience.
NOTE- The screen you will receive will have crease because of the nature of packaging as screens are compactly packed. You will need to iron or steam the screen to remove any crease. We advise it is easy to iron or steam the screen, once its properly installed.

The screen is of good quality, but we recommend back padding (not included) for long time
durability.
Follow these steps when installing a Frame and the Impact Screen:
- Golf Simulator setup area- The recommended minimum height of the golf simulator setup is at least 8 ft but 10 ft being ideal. Impact screen less than 8 ft high will be too short to catch wedge shots. If you are using a golf cage or frame, the screen is typically installed with a gap of 1 inch from the golf frame. This allow enough room to pull the golf impact screen for adjustments. Note: Ideally, the frame should be around 1 inch per side greater than the screen size. i.e. if the screen size is 10 ft x 10 ft (120" x 120") then the frame should be 10ft 4" x 10ft 4" (124" x 124")
- Golf screen installation- Attach each grommet on the impact screen to the frame using bungees. Use Tarp Anchor clips to connect the Impact screen to the frame using adjustable strap (The trick is being able to re-adjust the clips for location if it stretches).

The above arrangement will build a nice smooth and straight edge around the golf impact screen and takes away the tension from the screen. This allow the screen to last longer and not be subjected to excess tension and pulling on the material. We recommend hanging golf screens with adjustable straps, not elastic ball bungees because this way you can increase and decrease tension to prevent ball bounce back.
- Follow similar procedure to attach the bottom of the screen and secured from all 4 sides and ready to play.

- For sides use Tarp Anchor clip, and connect them to frame using adjustable straps to adjust tension.
Increase longevity
We strongly recommend a net or panel behind your golf impact screen to increase the life of your screen. We also sell golf Pro Series impact screens which is closely attached with the high-performance sports net allowing more strength to the screen. The combination of screen and net results in long golfing experience.


PRO series Projection Impact Screen and Archery Net